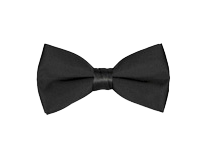
How to tie a tie or bow tie
The knot should fit neatly against the collar, but should not be pulled too tight. A flat, shapeless knot indicates a knot that is too loose or too wide...
Practice leads to true mastery here. Clean hands and a mirror are recommended. Keep in mind that Beau Brummell reportedly spent almost an entire morning tying his tie (the size of a large napkin) correctly. The wide end reaches exactly to the waistband or belt. The narrow end at the back can simply hang loose
unless you prefer to pull it through the extra loop (passentino) on the back of the wide end. Certainly not forbidden, but leaving it loose looks more stylish. The narrow end should never be longer than the wide end and should not be tucked into the shirt.
Four in Hand


The four-in-hand is the simplest commonly used way of tying a tie. It creates a narrow, more subtle and lightly asymmetrical knot. A shirt with a semi-spread collar or a button-down shirt is usually preferred for this tying method.
The four-in-hand is tied in five steps.
- Hold the tie so that the wide end hangs about thirty centimeters below the narrow end.
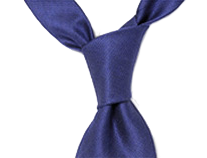
- Place the wide end of the tie over the narrow end and bring it around behind (fig. 1 and 2).
- Bring the wide end of the tie over the narrow end once more (fig. 2 repeated).
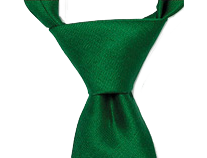
- Bring the wide end of the tie up behind and through the loop around the neck, then pass it down through the knot (fig. 3).
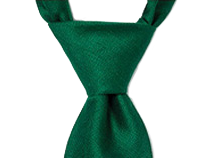
- Pull the knot firmly up towards the collar while holding the narrow end of the tie (fig. 4 and 5).